
Whether you’re a new contractor or you are re-familiarizing yourself with the trade, we’ve developed this simple article that will explain the difference between eavestrough and downspouts as well as how to properly install them.
Table of Contents
Eavestrough/Gutters
An eavestrough (also known as a gutter) attaches to a home’s fascia and is designed to capture the water that falls onto the property.
Typically, eavestroughs are made from metal or plastic and help manage the flow of water towards the downspout to prevent damage to the home’s foundation.
Installing Eavestrough

Before you begin installing eavestrough for your client, thoroughly inspect all of your fascia boards for any signs of damage or decay.
Next, make sure you have everything assembled on the ground.
This includes:
- Adding the end caps.
- Installing the end cap by crimping or riveting it onto the eavestrough.
- Using a high-quality thermoplastic sealant.
Next, install the outlets:
- Lay the 2×4 boards on the ground and turn the eavestrough upside down.
- Outline the location that the downpipe will be installed with chalk.
- Carve an “X” corner to corner of the outline on the bottom of the eavestrough.
- Use a pair of snips to cut the flaps along the outline.
- Insert the outlet to test if it fits properly.
- Remove the outlet and apply the gutter seal to the bottom of the outlet and put it back into the eavestrough.
Now it’s time to hang the eavestrough:
- At the other end of the downspout, use your chalk and outline below the roof edge (If there isn’t a roof edge measure ¾” below the shingle to make the mark).
- Then make a second mark on the other end of the downspout (This mark should be ¼” lower than the first mark for every 10’ of eavestrough).
- String your chalk line between the two marks and snap it onto the fascia.
- Finally, start from the middle of the eavestrough and go all the way to the end.
- If you’re using a gutter guard, now is the time to install it.
Downspouts/Downpipes
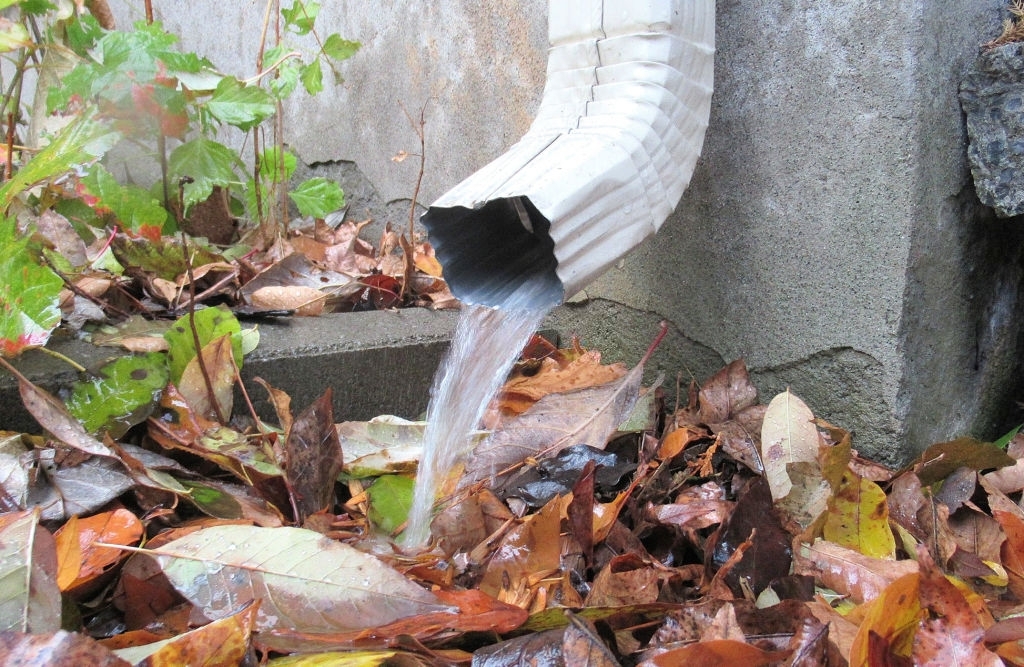
Downspouts (also known as downpipes) carry the water to the base of the house to help prevent the basement and foundation from flooding.
There are many materials for downpipes, with the most common being:
Vinyl
Vinyl is easy to install but has a shorter lifespan than metal and is more prone to cracking in cold weather; we don’t recommend Canadian contractors to use vinyl due to the cold climate.
Aluminum & Steel
Aluminum and steel are both sturdy and inexpensive materials. In fact, aluminum is the most popular choice for eavestroughs and downspouts in Canada as it won’t rust and expands in colder climates.
Copper & Zinc
Copper and zinc can last up to 100 years without needing a replacement but tend to be quite pricey.
Installing Downspouts
In order to properly install downspouts, follow these instructions closely:
- Start with an elbow and attach it to the underside of the eavestrough where the outlet is located (make sure that you aim it at the wall where the downpipe will run).
- Lean the other elbow against the wall, measure the distance between the two elbows and add 3”.
- If needed, crimp one end of a cut piece to make it fit into the elbow or other pipe.
- Leaning your elbows against the wall, measure from the bottom of the elbow to the floor.
- Subtract 14” from this measurement to create enough headroom to support the bottom elbow and downspout.
- Using 2 pipe straps for each 10’ of the downpipe, install the straps to the wall and extension downpipe.
—
If you’re looking for Canadian-made eavestrough and eavestrough products in aluminum, copper or steel — as well as soffit, fascia, siding and aluminum roofing — then check out our product list.
Interested in learning about the proper precautions you should take before you install eavestrough? Check out our Buyer’s Guide for Contractors.